How to Install a Post Hole Digger on a Tractor - Bonovo
Installing a post hole digger on a tractor is a crucial step in ensuring efficient and effective digging for various agricultural and construction tasks. Whether you are a farmer or a contractor, having the right equipment and knowing how to install it properly can save you time and effort. In this article, we will guide you through the process of installing a post hole digger on a tractor, providing you with the necessary steps and tips for a successful installation.
Step 1: Gather the Required Tools and Equipment
Before you begin the installation process, it is important to gather all the necessary tools and equipment. This ensures that you have everything you need on hand and prevents any delays or interruptions during the installation. The tools and equipment you will need may include:
- Post hole digger attachment
- Tractor
- Safety gloves
- Wrenches or socket set
- Grease gun
- Safety goggles
Step 2: Prepare the Tractor
Before installing the post hole digger attachment, it is essential to prepare the tractor. Start by turning off the tractor's engine and engaging the parking brake. This ensures that the tractor remains stable and prevents any accidental movement during the installation process. Additionally, make sure to read the tractor's manual for any specific instructions or precautions related to attaching equipment.
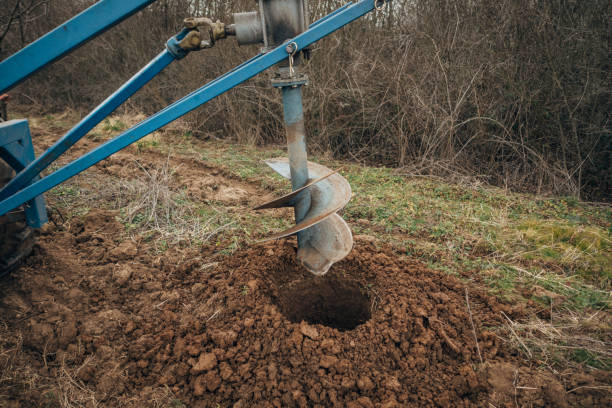
Step 3: Position the Post Hole Digger Attachment
Carefully position the post hole digger attachment in front of the tractor's three-point hitch. The three-point hitch is usually located at the rear of the tractor and consists of two lower arms and an upper link. Align the attachment's lower arms with the tractor's lower arms and insert the attachment's mounting pins into the corresponding holes on the tractor.
Step 4: Secure the Attachment
Once the post hole digger attachment is in position, secure it to the tractor using the mounting pins. Make sure that the pins are properly inserted and locked into place. Use wrenches or a socket set to tighten any bolts or nuts that may be required to secure the attachment further.
Step 5: Connect Hydraulic Hoses (if applicable)
If your post hole digger attachment requires hydraulic power, connect the hydraulic hoses to the tractor's hydraulic system. Refer to the attachment's manual for specific instructions on how to connect the hoses properly. It is crucial to ensure that the hoses are securely attached and that there are no leaks.
Step 6: Lubricate Moving Parts
To ensure smooth operation and prevent premature wear, it is important to lubricate the moving parts of the post hole digger attachment. Use a grease gun to apply grease to any grease fittings or lubrication points indicated in the attachment's manual. Regularly lubricating the attachment will help maintain its performance and extend its lifespan.
Step 7: Perform Safety Checks
Before using the post hole digger attachment, perform thorough safety checks. Inspect all connections, bolts, and nuts to ensure they are secure. Check for any signs of wear or damage, such as bent or cracked components, and replace them if necessary. Put on safety gloves and goggles to protect yourself during operation.
Installing a post hole digger on a tractor is a relatively straightforward process that requires careful attention to detail. By following the steps outlined in this article, you can ensure a successful installation and enjoy efficient digging for your agricultural or construction needs. Remember to always refer to the equipment manuals for specific instructions and safety guidelines.


